-
#25. YOLO v3 with PyTorch연구실 2019. 11. 7. 14:10
참고: https://github.com/eriklindernoren/PyTorch-YOLOv3.git
eriklindernoren/PyTorch-YOLOv3
Minimal PyTorch implementation of YOLOv3. Contribute to eriklindernoren/PyTorch-YOLOv3 development by creating an account on GitHub.
github.com
1. 설치
git clone https://github.com/eriklindernoren/PyTorch-YOLOv3.git
cd PyTorch-YOLOv3/sudo pip3 install -r requirements.txt
- 왜인진 모르겠는데 gpu 서버에서는 requirements 설치하는데 오류남... 그래서 일일히 설치해주었다.
2. pretrained weights 다운
cd weights/
bash download_weights.sh
3. custom 데이터 넣기
1) 모델 definition 변경
cd config/
bash create_custom_model.sh <num-classes>
- 자기 데이터의 클래스 갯수를 넣어준다.
2) classes.name 파일 변경
- data/custom/classes.names 파일의 내용을 변경해준다.

3) 이미지 데이터를 data/custom/images/ 에 넣어줌.

4) Annotation 데이터를 data/custom/labels/ 에 넣어줌.
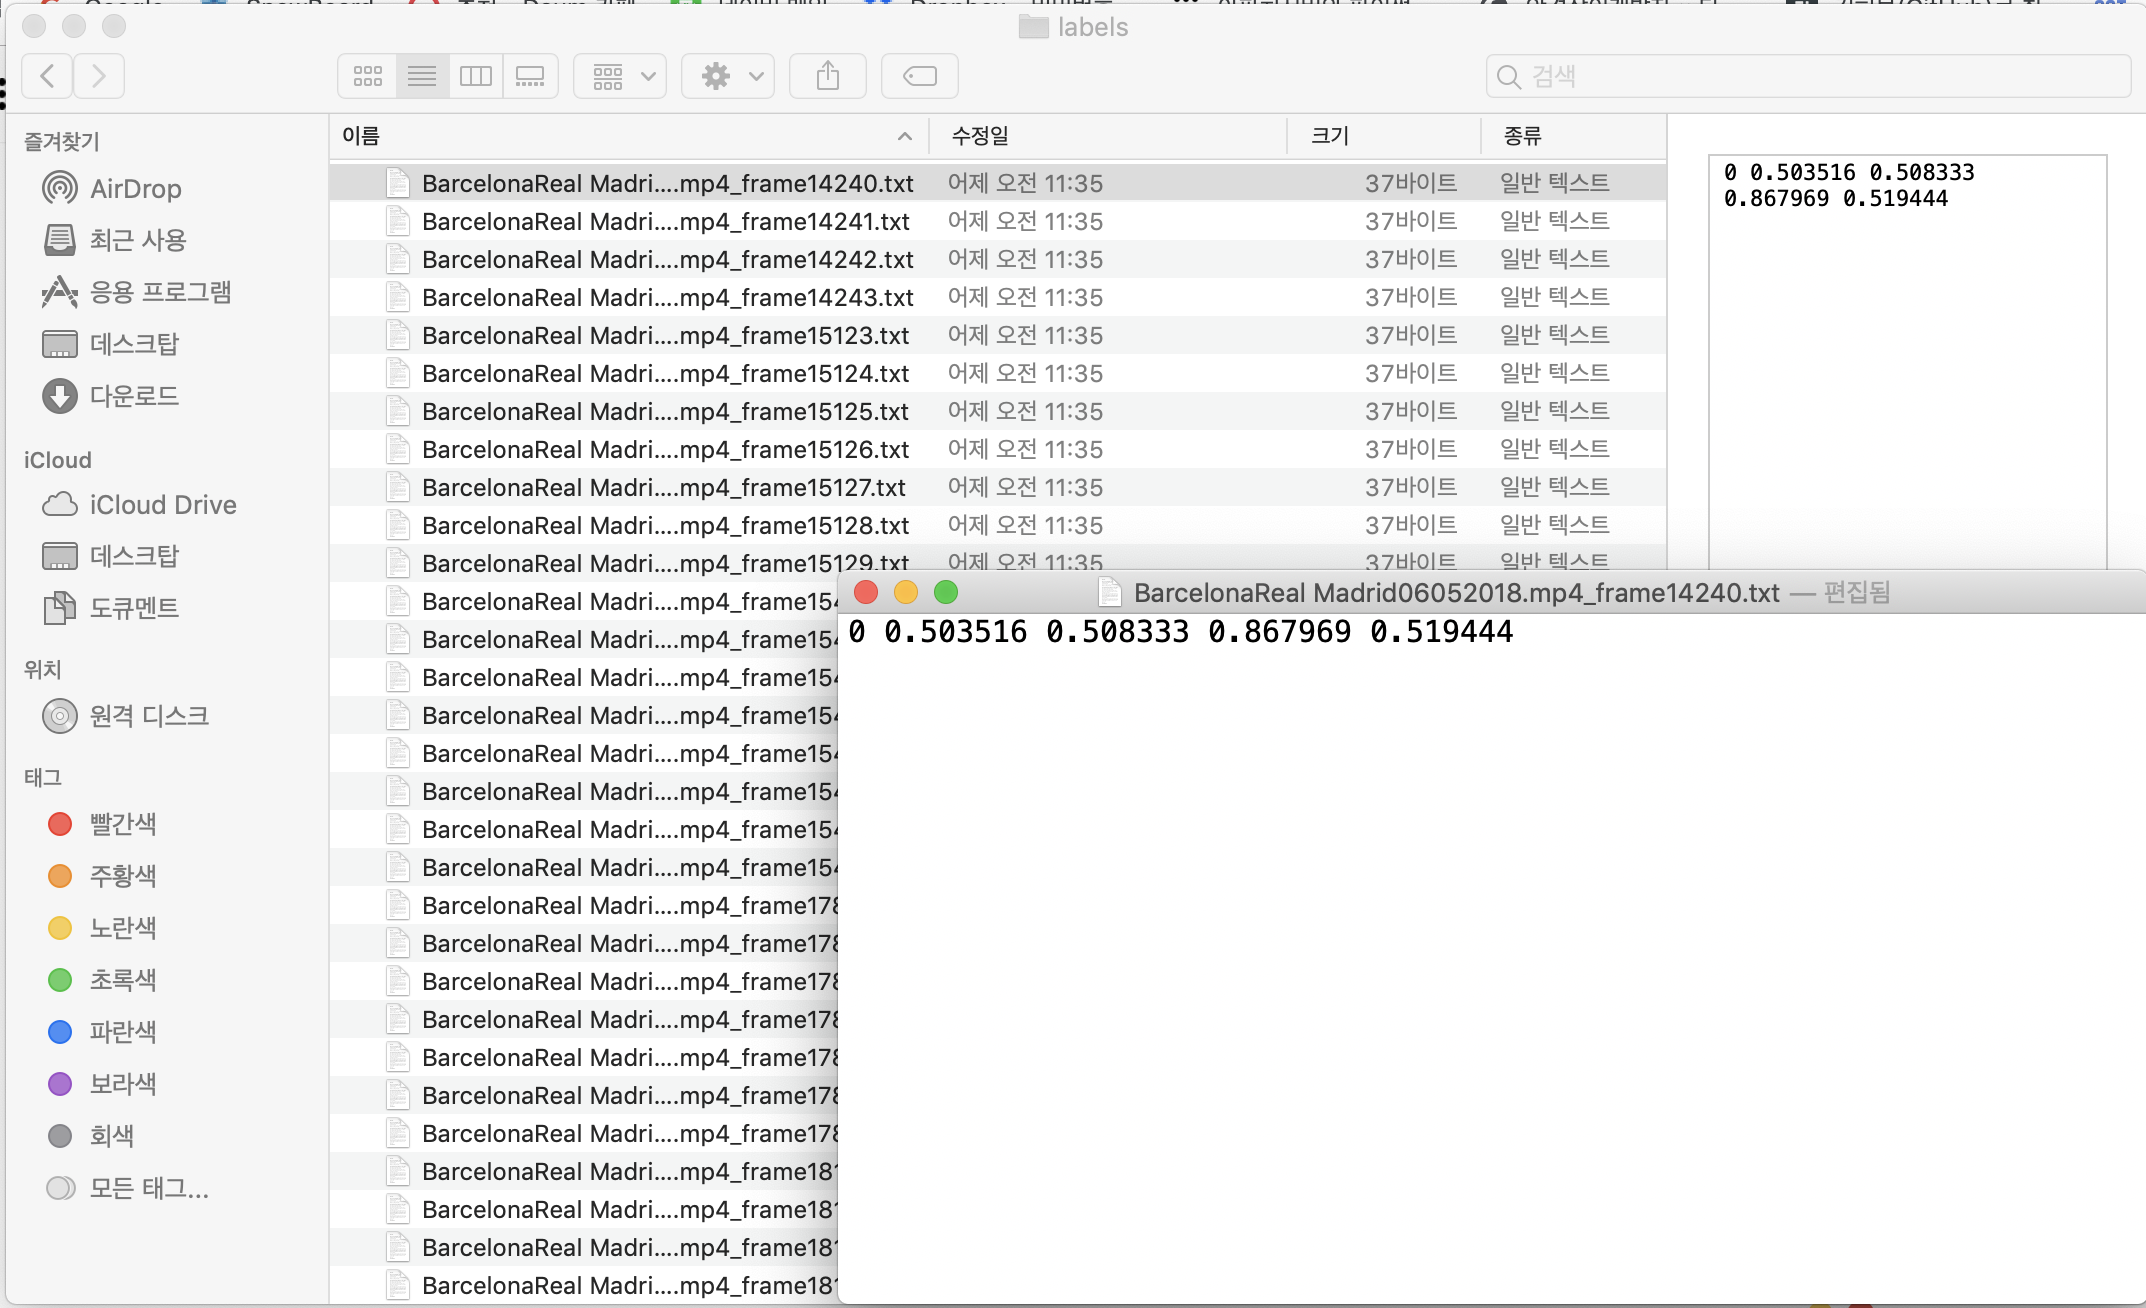
- 나 같은 경우는 tensorflow object detection api 사용을 위해 labelImg를 통해 만들어진 xml 파일이 있어어 https://github.com/Isabek/XmlToTxt.git를 이용하여 txt로 변경.
5) Training set과 Validation set 명시(data/custom/train.txt , data/custom/valid.txt)

6) Training
python3 train.py --model_def config/yolov3-custom.cfg --data_config config/custom.data '연구실' 카테고리의 다른 글
Python argsort() 함수 (0) 2020.01.11 #26. "Deep Learning Cookbook" - 9. 이미 훈련된 이미지 인식 신경망 재사용하기 (0) 2019.11.08 #24. Neural Machine Translation (0) 2019.10.28 #23. Emojify (0) 2019.10.28 #22. Operations on word vectors (0) 2019.10.26